
A clogged cream dispenser is usually caused by dried cream, sugar, or small pieces of flavoring getting stuck in the nozzle. Most minor clogs can be fixed at home without replacing the dispenser. The key is to release the pressure safely, clean the nozzle and other removable parts, and avoid forcing the dispenser when the cream stops coming out.
Dried cream is one of the most common causes of a clogged nozzle. After dispensing whipped cream, a small amount can remain inside the narrow opening. Once it dries, the residue becomes thick and can gradually block the passage.
Sugar can make this worse. Sweetened whipped cream leaves a sticky residue as it dries, so a nozzle that wasn't cleaned properly after use may become difficult to use the next time.
Flavored whipped cream needs a little more attention. Ingredients such as cocoa powder, fruit puree, spices, zest, and other flavorings can leave tiny particles in the mixture. These particles may collect inside the nozzle, especially if the mixture isn't completely smooth.
When I make flavored whipped cream at home, I try to dissolve powdered ingredients well and strain mixtures with small particles before putting them into the whipped cream dispenser. It makes the finished cream smoother and also makes cleanup easier.
Read More:Which Ingredients Can Clog a Cream Dispenser?
Sometimes the problem is simply leaving the dispenser unwashed for too long. Fresh cream residue is relatively easy to rinse away, while dried cream can become surprisingly hard.
That's why I prefer to clean the dispenser soon after I'm finished using it rather than leaving it until later.
A clogged nozzle usually gives you a few obvious signs. The dispenser may still contain cream and have pressure, but only a small amount comes out, the cream comes out unevenly, or nothing comes out at all.
Before assuming it's a clog, it's worth checking whether the dispenser actually has pressure and whether the charger was installed correctly. A damaged gasket, an empty charger, or another valve problem can sometimes look like a blocked nozzle.
Once you've determined that the nozzle is likely blocked, the process is fairly simple. I usually start with the gentlest cleaning method and only use a small brush if necessary.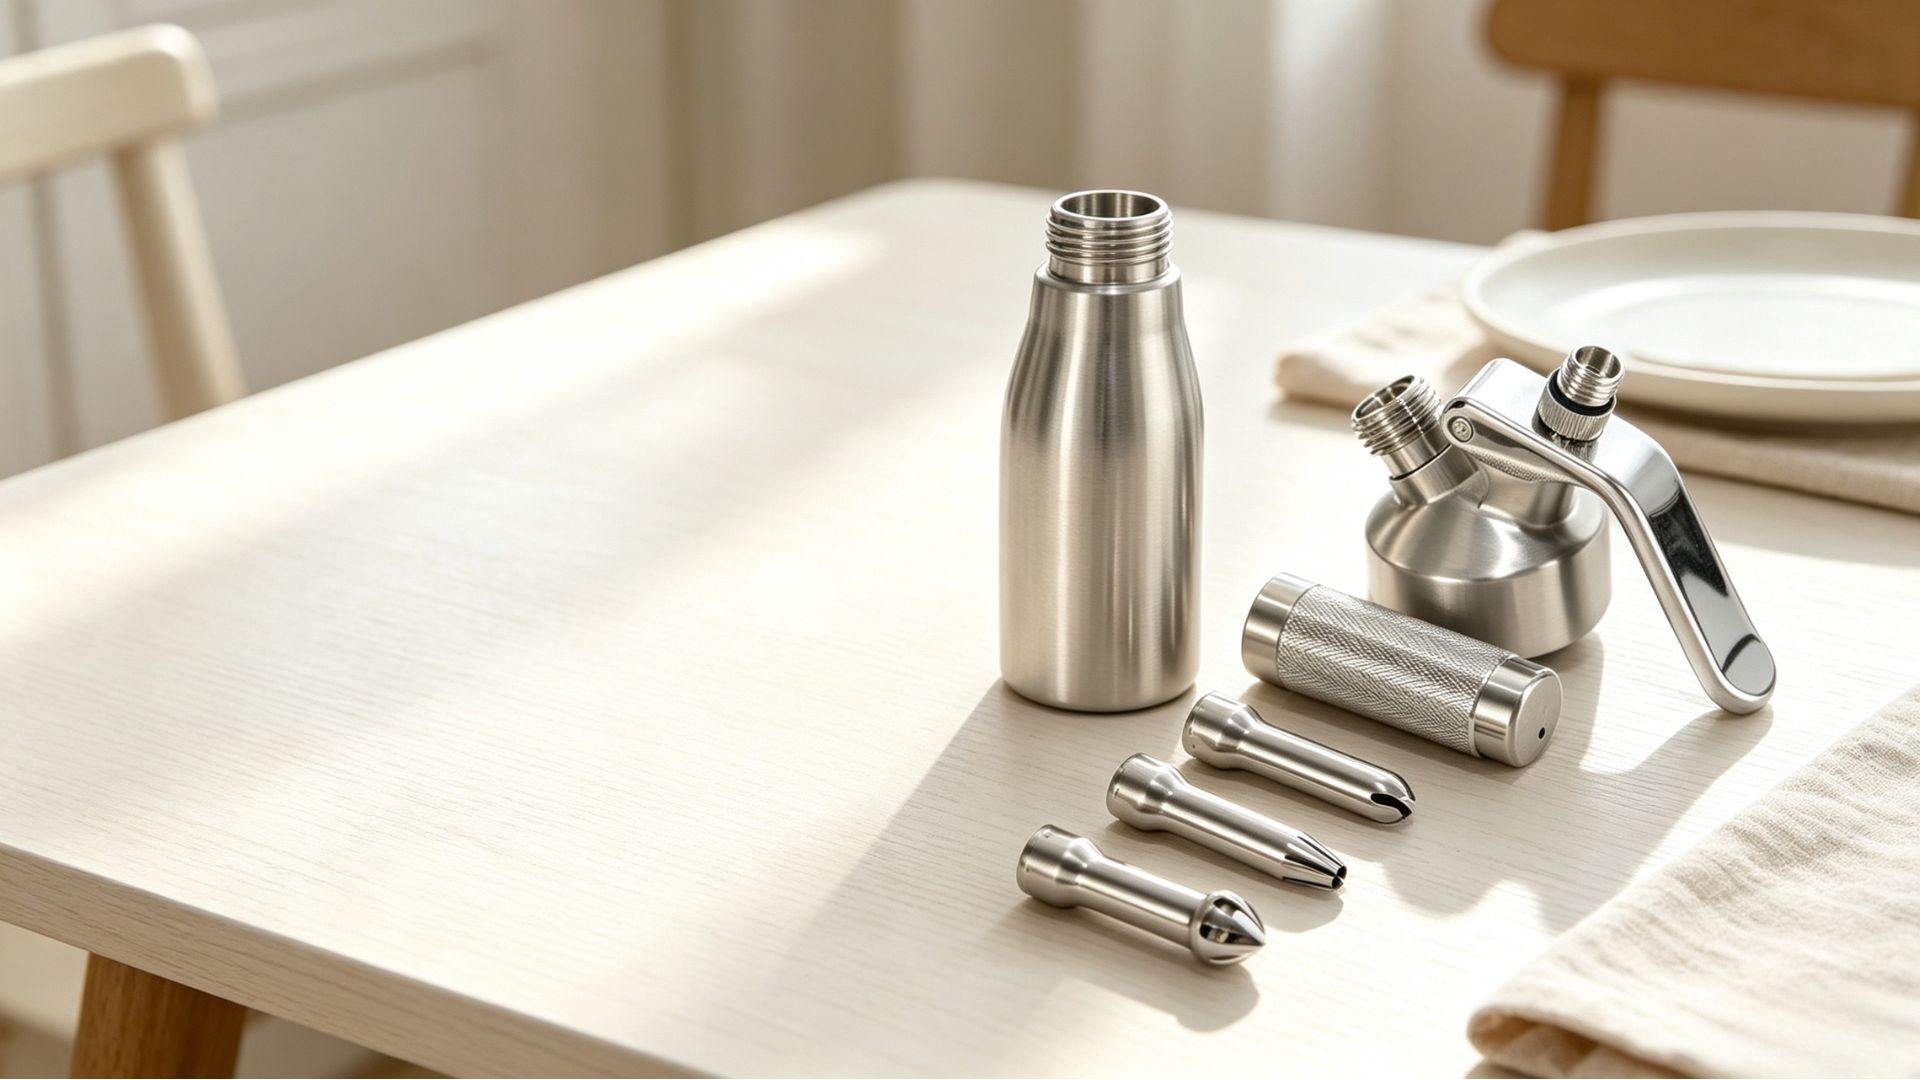
First, make sure the dispenser is completely depressurized according to the manufacturer's instructions. This is important before removing the nozzle or opening any part of the dispenser.
Never try to unscrew or disassemble a pressurized cream dispenser. If there is still pressure inside, deal with that first before starting the cleaning process.
After the pressure has been safely released, remove the nozzle or dispensing tip. Check the opening for dried cream or other visible residue.
If the nozzle feels stuck, don't immediately use force. Dried cream around the connection may be holding it in place, and excessive force can damage the threads or other components.
Place the nozzle in warm water for a few minutes and then rinse it thoroughly. Warm water helps soften dried cream and sugar, which is often enough to loosen a relatively fresh blockage.
There's usually no need to start with aggressive cleaning. Giving the residue time to soften makes the rest of the job much easier.
If the blockage remains, use a small cleaning brush that can fit inside the nozzle. Gently work the brush through the opening to remove the softened residue.
Avoid using sharp objects to poke through the clog. They may scratch or damage the inside of the nozzle, and pieces of residue can also be pushed farther into the dispensing system.
While the nozzle is off, take the opportunity to check the gasket, valve area, and other removable components for cream buildup. A small amount of dried cream around these parts can also affect how the dispenser works.
Wash the parts with warm water and mild dish soap, then rinse them thoroughly. If a gasket is cracked, stretched, or visibly damaged, cleaning it won't solve the problem and replacement may be necessary.
Let all cleaned parts dry completely before putting the dispenser back together. Make sure the nozzle and gasket are seated correctly rather than simply tightening everything as much as possible.
Once reassembled, test the dispenser according to its normal operating instructions. If the nozzle is clean but the dispenser still doesn't release cream, the problem may be related to the charger, seal, or internal valve rather than a clog.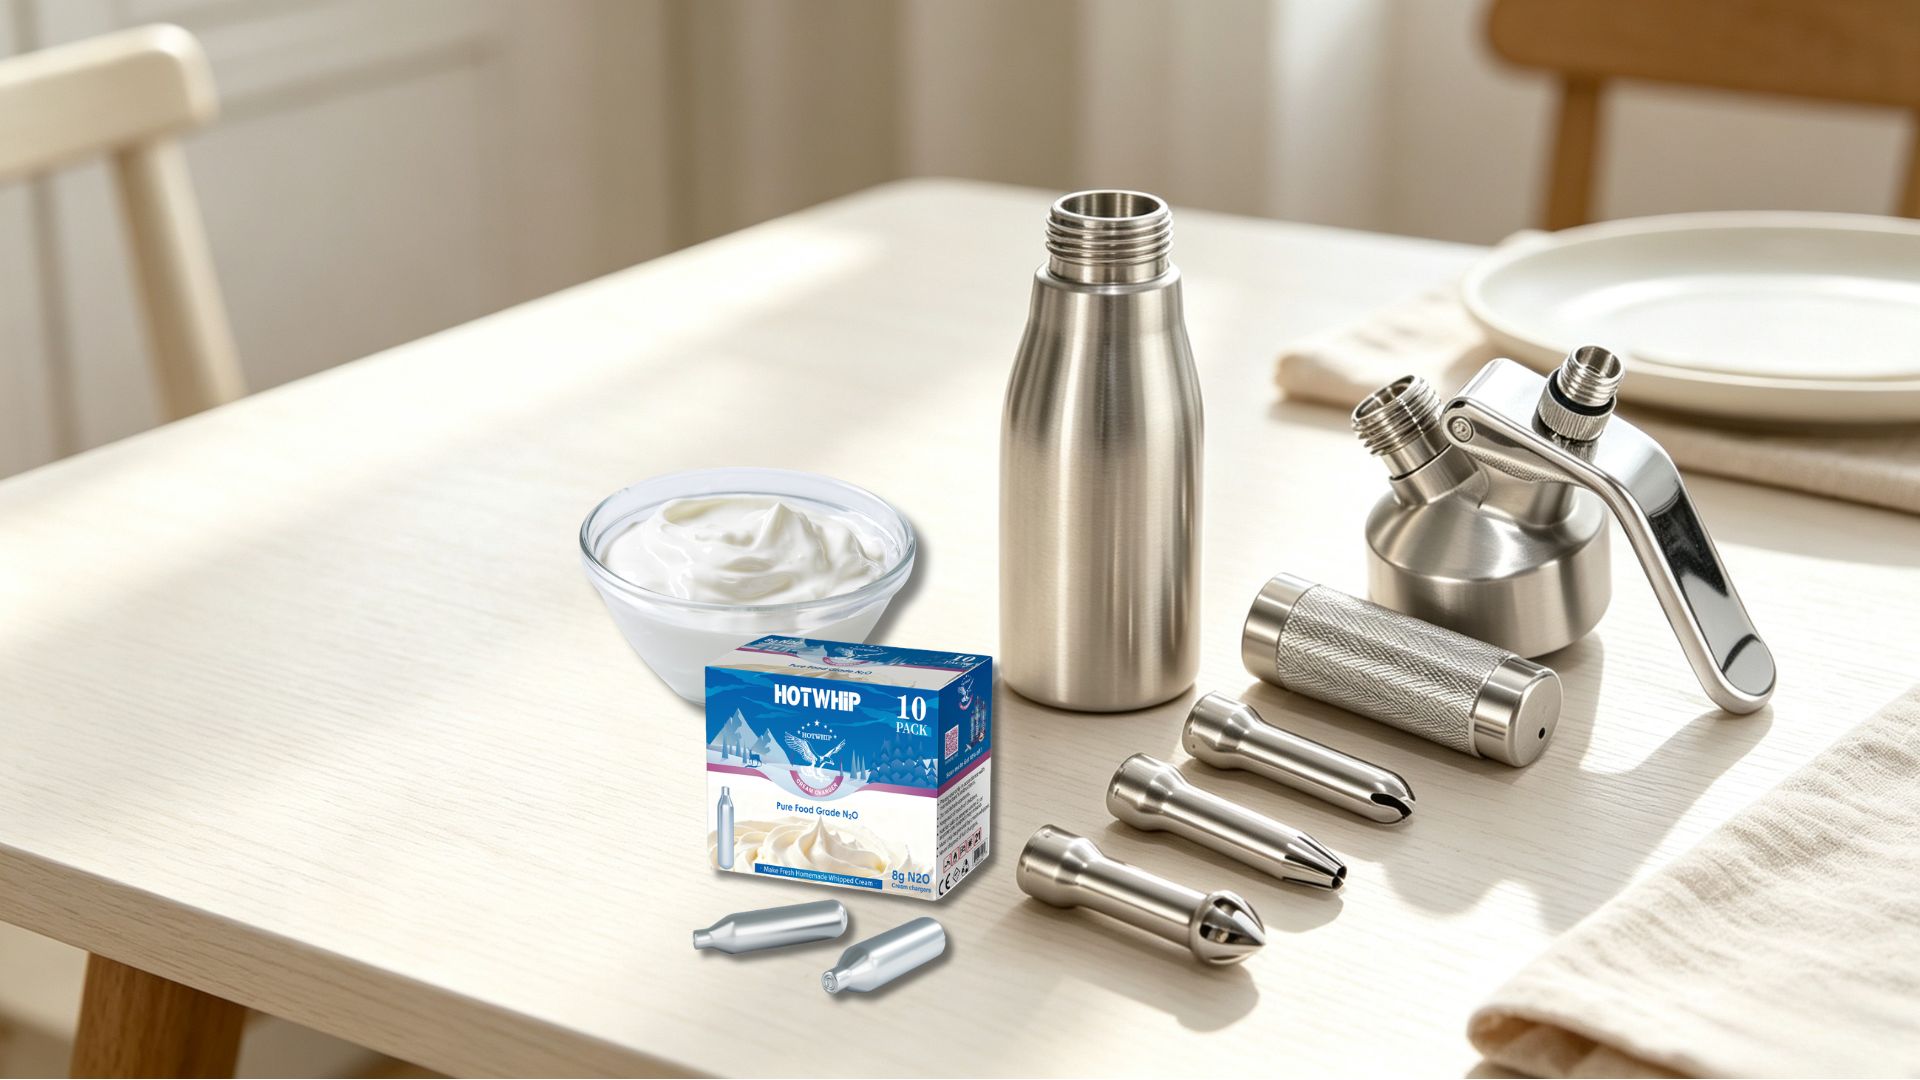
A clogged nozzle is sometimes a sign that the dispenser needs a more thorough cleaning. If cream has been sitting inside for a while, simply rinsing the tip may not be enough.
Take apart only the components that your dispenser is designed to have removed. Wash them with warm water and mild dish soap, paying extra attention to the nozzle, threads, gasket area, and other places where cream can collect.
For stubborn residue, soaking the removable parts in warm soapy water for a few minutes can help soften it before brushing.
I wouldn't use strong chemicals, rough scouring pads, or sharp tools unless the manufacturer specifically recommends them. These can damage the surface or seals and may create another problem on top of the original clog.
For normal cream residue, warm water, mild soap, and a suitable small brush are usually sufficient.
After washing, let each part dry completely before storage or reassembly. Moisture left inside narrow openings can mix with the next batch and may contribute to residue buildup.
If you've cleaned the nozzle thoroughly and the dispenser still doesn't work, it's time to look beyond the blockage.
Make sure the whip cream cartridges are the correct type for your dispenser and that it was installed according to the manufacturer's instructions. If the dispenser has no pressure, the issue may not be related to the nozzle at all.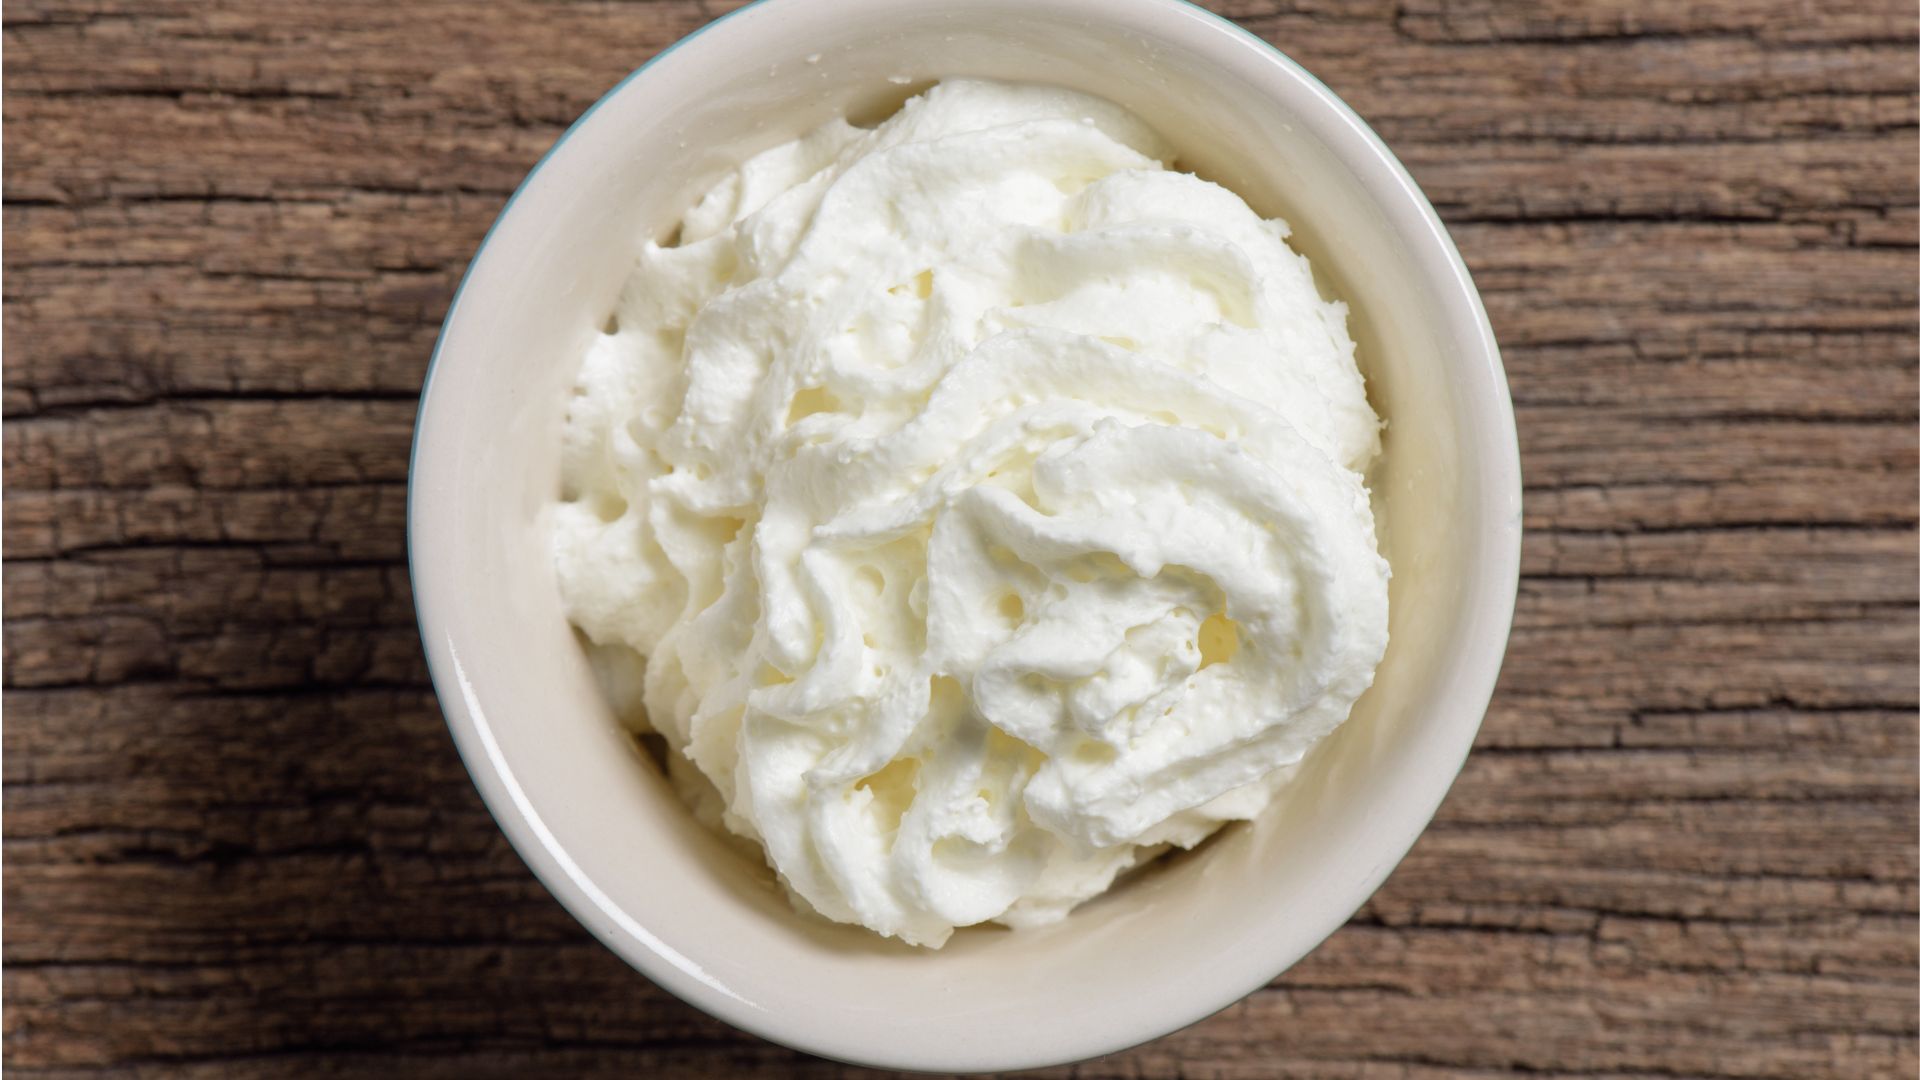
A worn or damaged gasket can allow pressure to escape. Look for cracks, deformation, or a seal that no longer fits properly. Replacing a damaged gasket is generally more useful than repeatedly cleaning it.
If there is pressure inside the dispenser and the nozzle is clean, but cream still won't come out, the valve may need attention. At this point, I wouldn't keep forcing the lever or inserting objects into the mechanism. Check the manufacturer's cleaning instructions or look for the appropriate replacement part.
A clogged cream dispenser usually isn't a serious problem. In most cases, dried cream, sugar, or flavoring residue is simply blocking the nozzle. Safely release the pressure, remove the nozzle, soften the buildup with warm water, and use a small brush if needed. Giving the dispenser a proper rinse after every use and keeping your cream mixture smooth will go a long way toward preventing the same problem from happening again.


