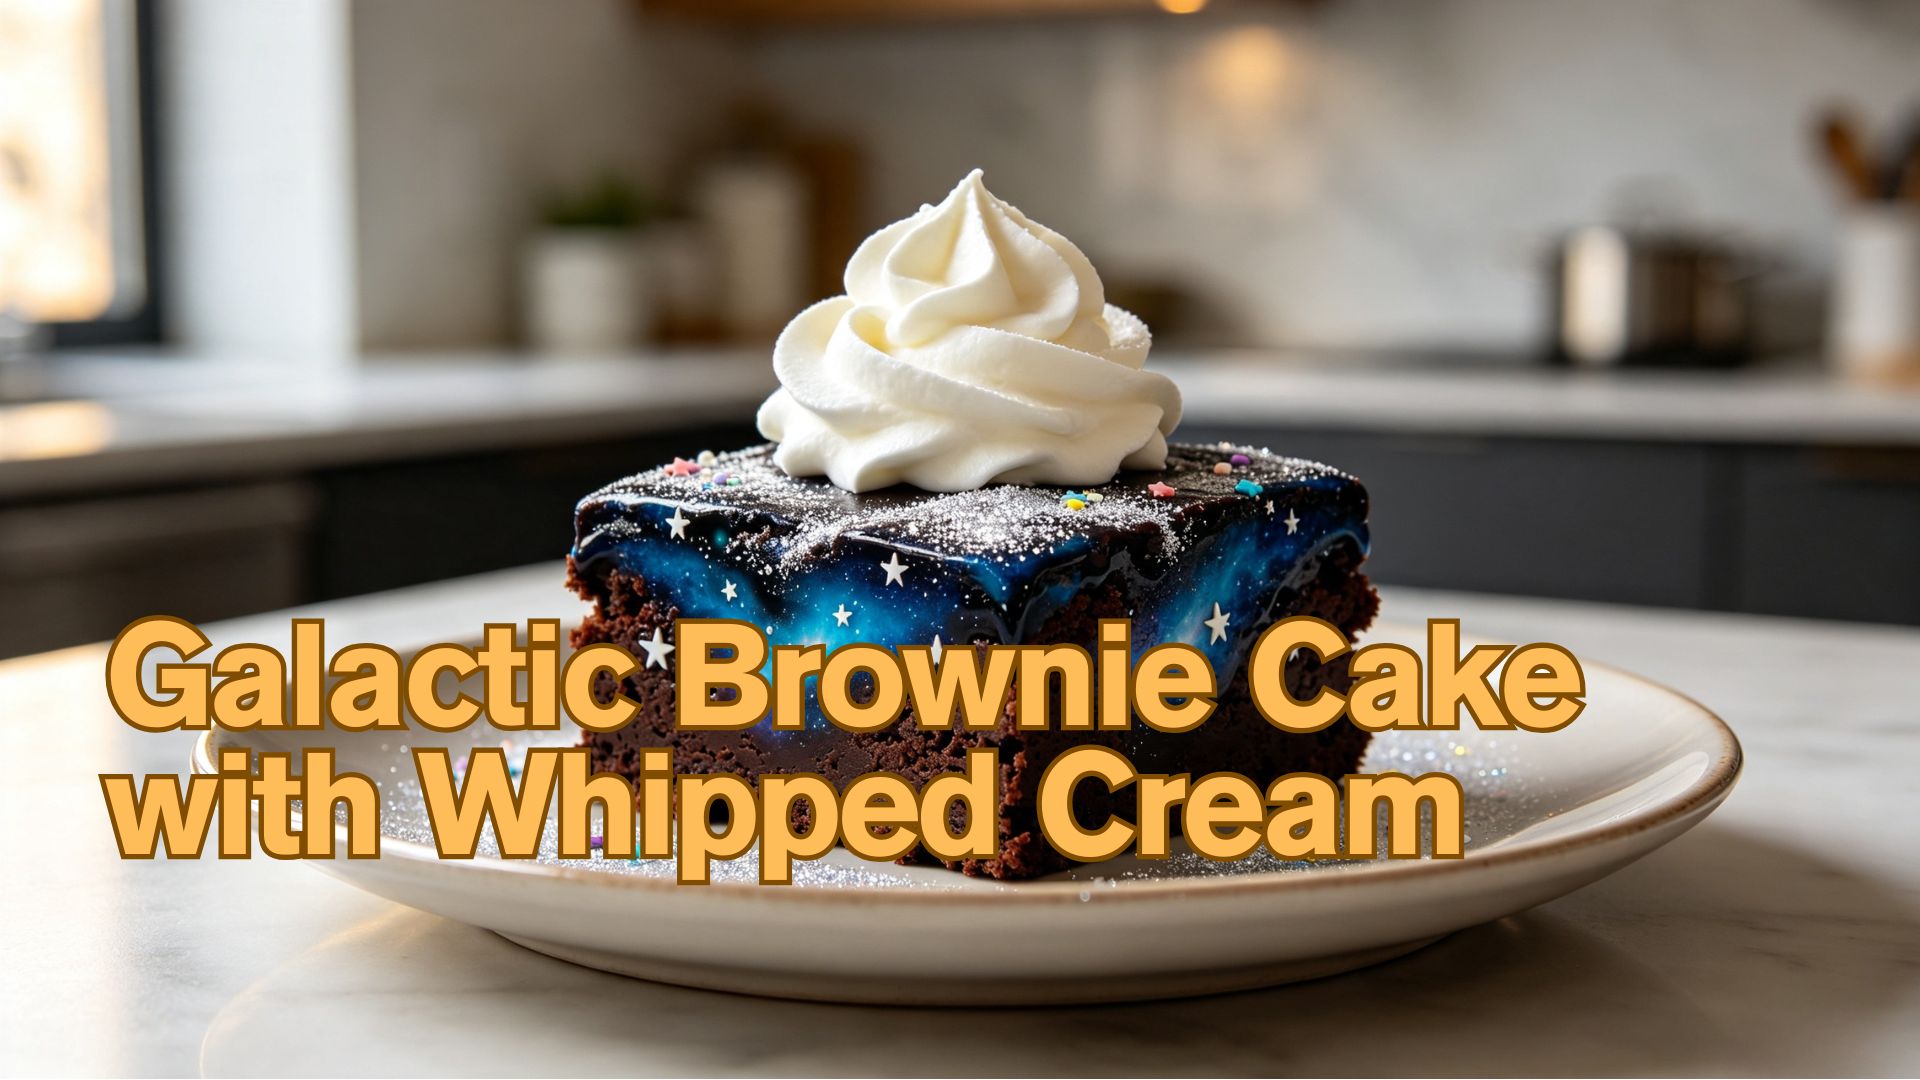
Nothing Bundt Cake recently introduced its new Galactic Brownie Cake, bringing a playful, space-inspired look to the classic chocolate brownie. The rich chocolate base, eye-catching galaxy-style decoration, and fun presentation make it a dessert that feels a little more special than the traditional brownie.
Inspired by the idea, I decided to create my own version at home—but with one extra touch. Instead of finishing the brownies with a heavy layer of frosting, I use freshly whipped cream made with an 8g cream charger. The result is a fudgy, chocolate-rich brownie topped with light, airy cream that adds both texture and visual contrast.
For the galaxy effect, I use dark chocolate, white chocolate, and a little edible shimmer to create a swirled surface that looks like a miniature night sky.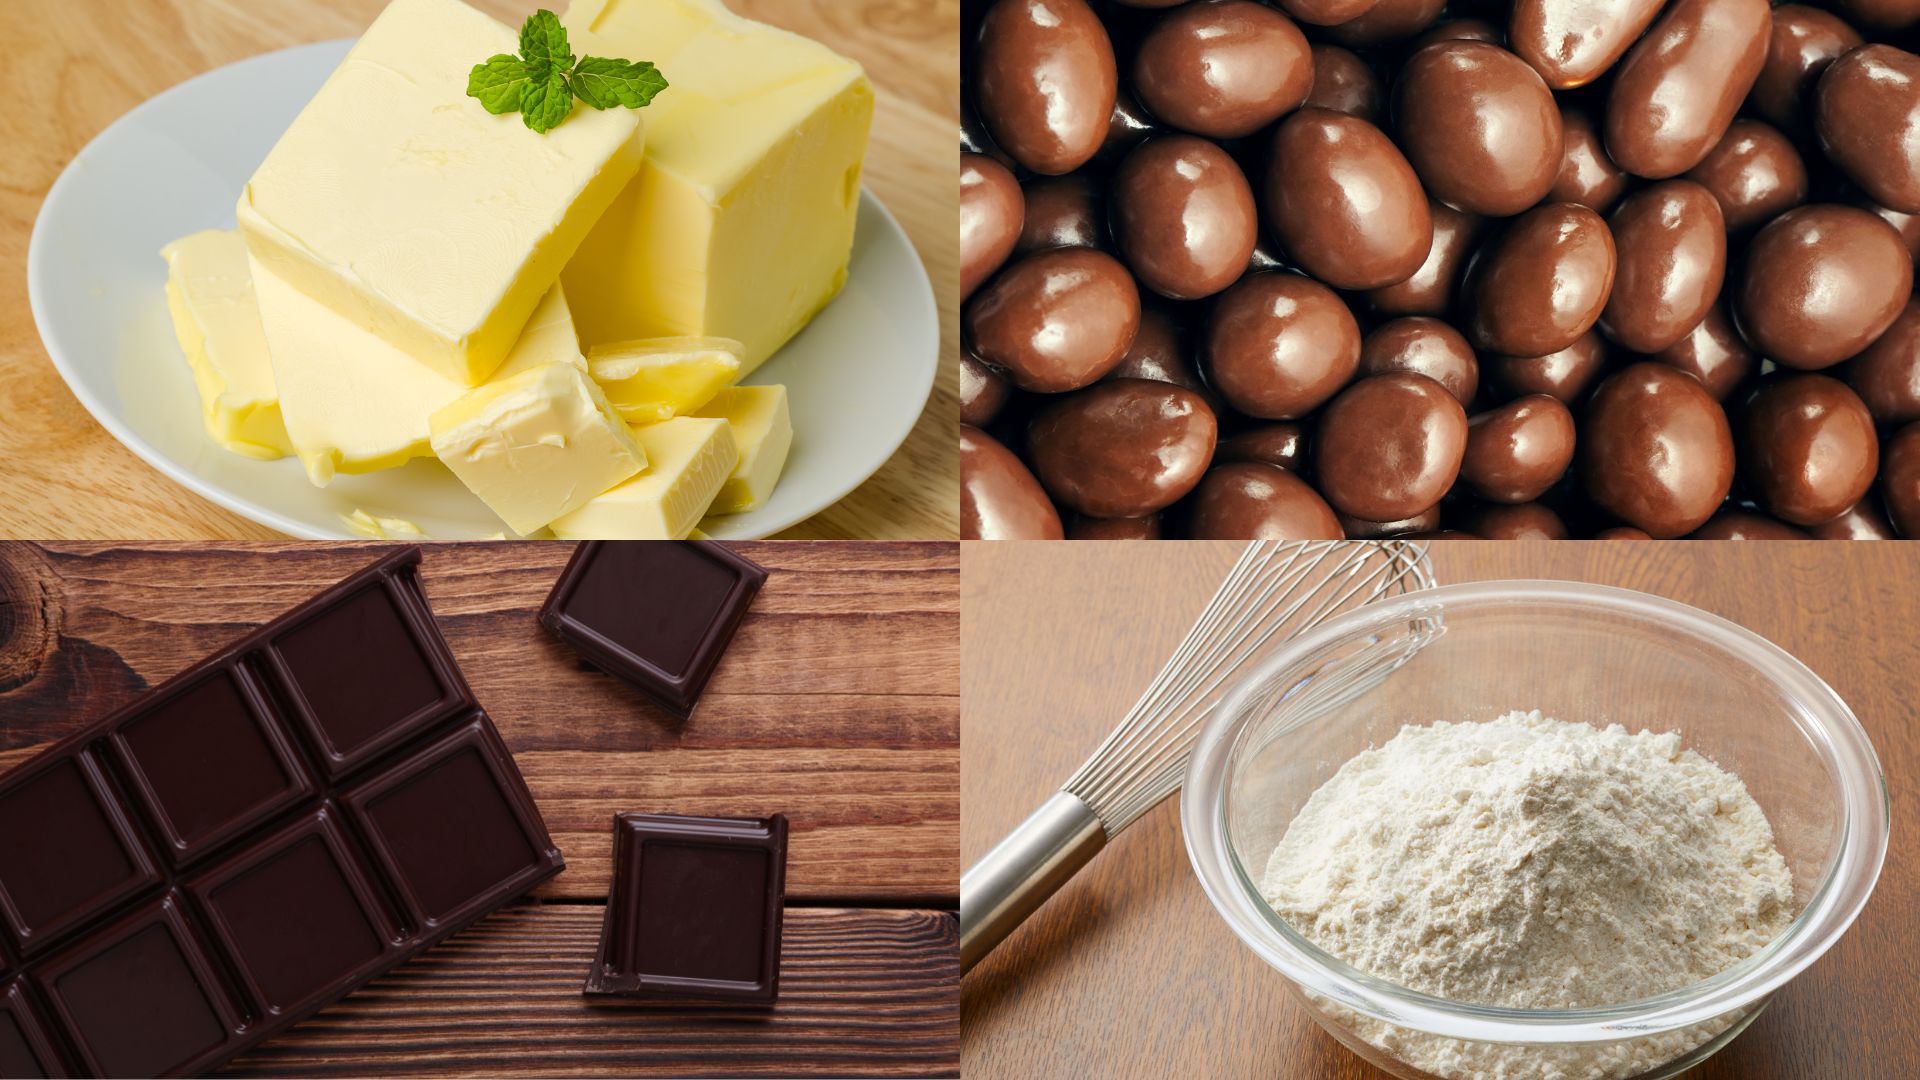
| 1 cup unsalted butter, melted 1 cup granulated sugar ½ cup brown sugar 2 large eggs 1 teaspoon vanilla extract |
¾ cup all-purpose flour ¾ cup unsweetened cocoa powder ½ teaspoon salt ½ teaspoon baking powder ½ cup dark chocolate chips |
For the Whipped Cream |
For the Galaxy Decoration |
| 1 cup cold heavy whipping cream 2 tablespoons powdered sugar 1 teaspoon vanilla extract 1 8g cream charger |
100 g white chocolate 50 g dark chocolate Edible silver or pearl shimmer Optional edible star sprinkles |
Preheat your oven to 350°F (175°C).
Line an 8-inch square baking pan with parchment paper, leaving a little overhang on the sides. This makes the brownies much easier to remove later.
In a large bowl, whisk together the melted butter, granulated sugar, and brown sugar until smooth.
Add the eggs one at a time, followed by the vanilla extract. Mix until the batter looks glossy.
In a separate bowl, combine the flour, cocoa powder, salt, and baking powder.
Gradually add the dry ingredients to the wet mixture. Stir just until everything comes together. Try not to overmix—the goal is a fudgy brownie rather than a cakey one.
Fold in the dark chocolate chips.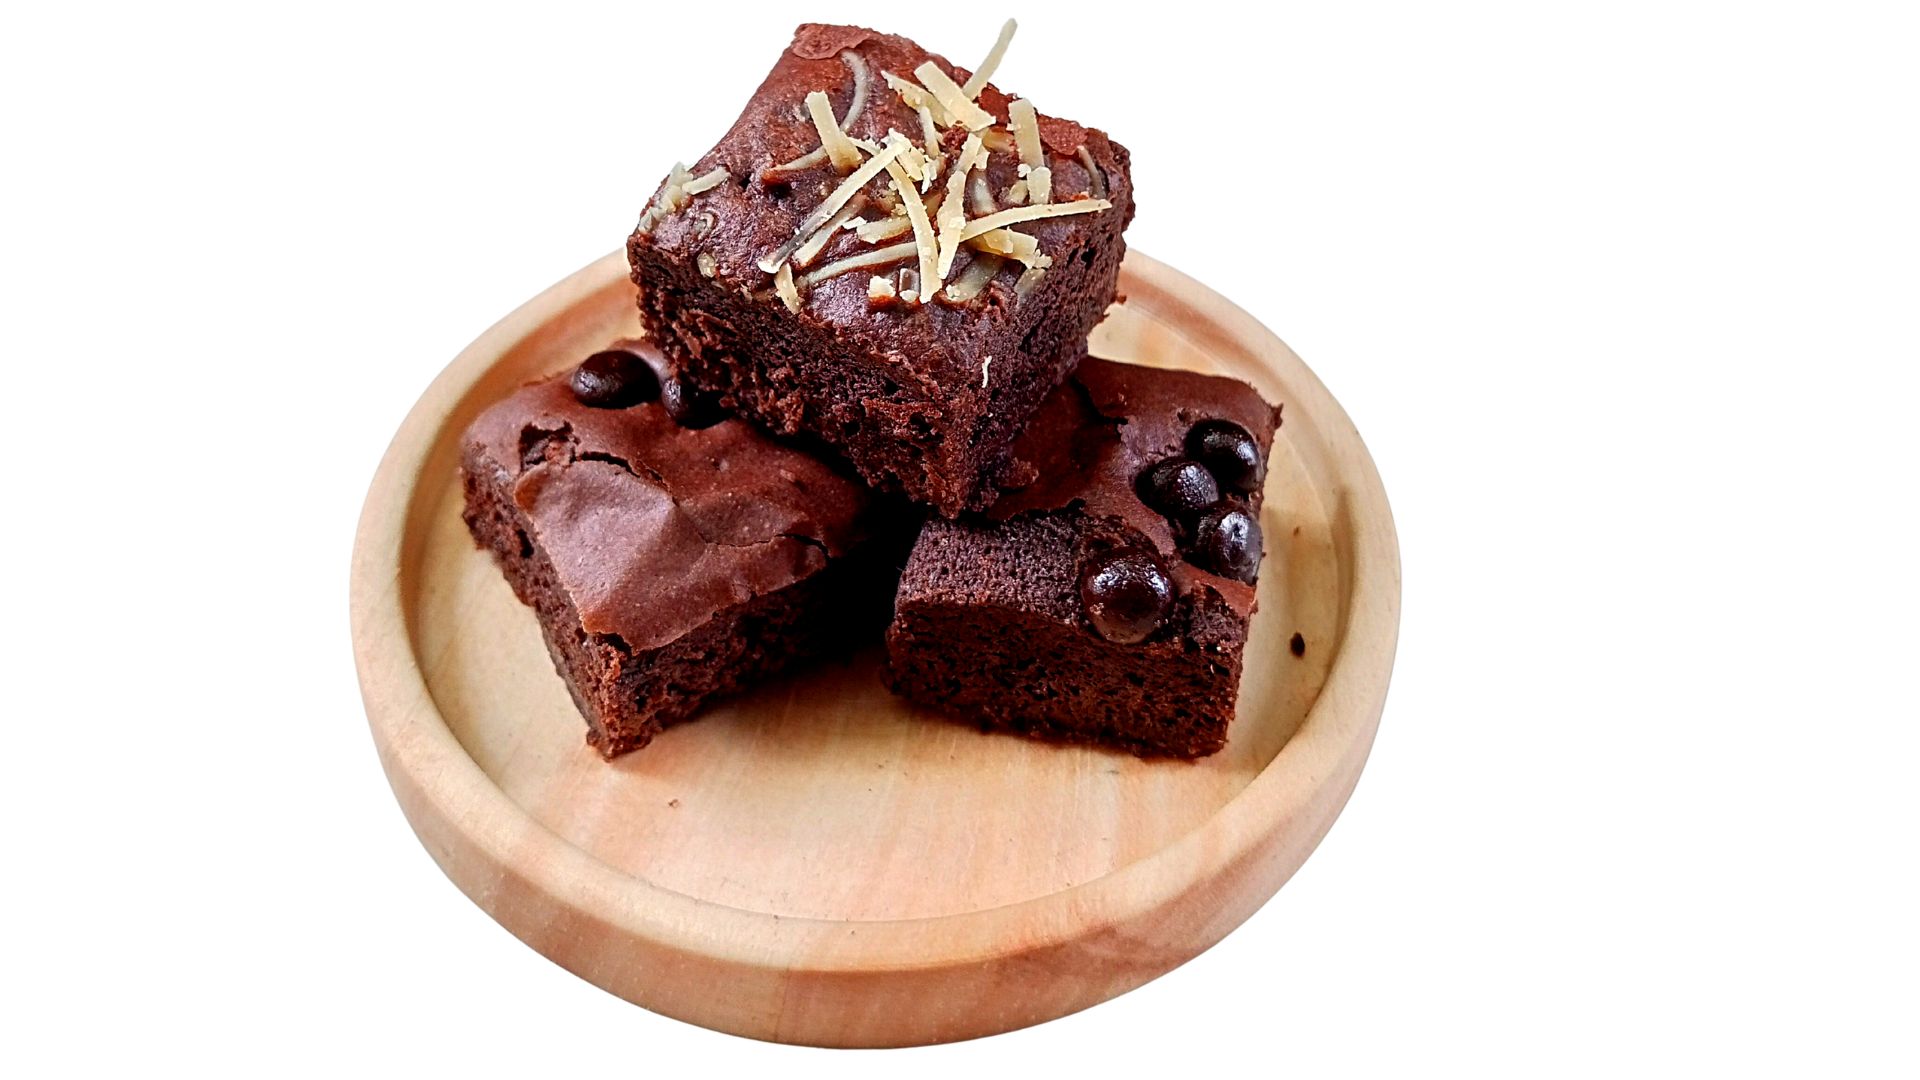
Pour the batter into the prepared pan and spread it evenly.
Bake for approximately 25–30 minutes.
The center should still have a slight softness when you take the brownies out. A toothpick inserted into the center should come out with a few moist crumbs rather than completely clean.
Let the brownies cool completely before decorating.
This part is worth waiting for. If you add the whipped cream while the brownies are still warm, it will melt quickly and lose its texture.
Melt the white chocolate and dark chocolate separately.
Spread a thin layer of melted white chocolate over the cooled brownie surface. Add small drops or streaks of dark chocolate on top.
Using a toothpick or the tip of a small knife, gently swirl the two chocolates together.
Don't overdo the swirling. A few irregular lines actually create a more natural galaxy effect.
While the chocolate is still soft, lightly dust the surface with edible silver shimmer and add a few edible star sprinkles.
Let the chocolate set before adding the whipped cream.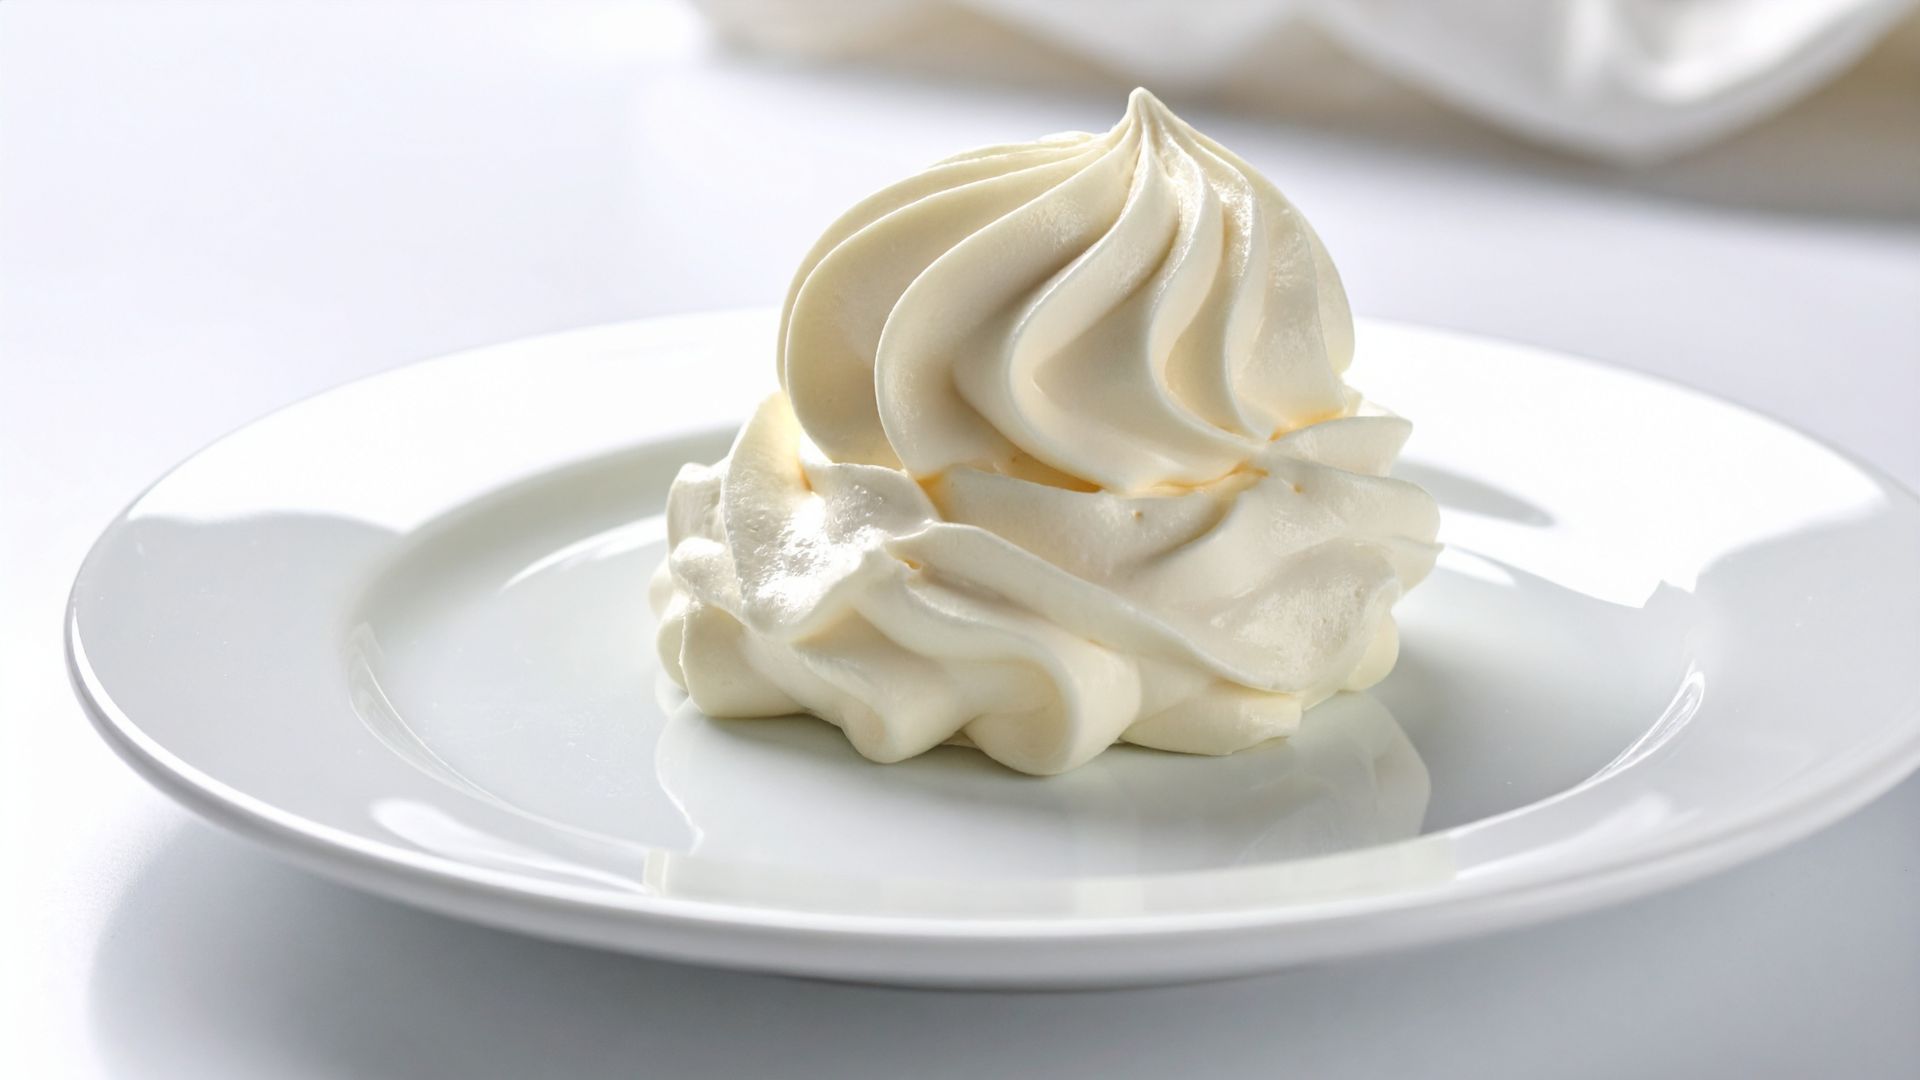
This is my favorite part of the recipe.
Pour the cold heavy cream into a compatible whipped cream dispenser. Add the powdered sugar and vanilla extract.
Close the dispenser securely and charge it with one 8g chargers for whipped cream dispenser according to the dispenser manufacturer's instructions.
Shake the dispenser several times to distribute the gas evenly through the cream.
The result should be smooth, light, and stable whipped cream that is much easier to pipe than hand-whipped cream.
For these brownies, I like to pipe small clouds of whipped cream rather than covering the entire surface. It keeps the galaxy design visible while adding a nice contrast to the dark chocolate.
Once the chocolate decoration has completely set, cut the brownie into squares.
Pipe a small swirl or cloud of freshly whipped cream onto each piece.
Finish with another very light dusting of edible shimmer.
If you're serving these at a dinner party, I recommend adding the whipped cream shortly before serving. The brownies can be prepared ahead of time, but the whipped cream is best when freshly dispensed.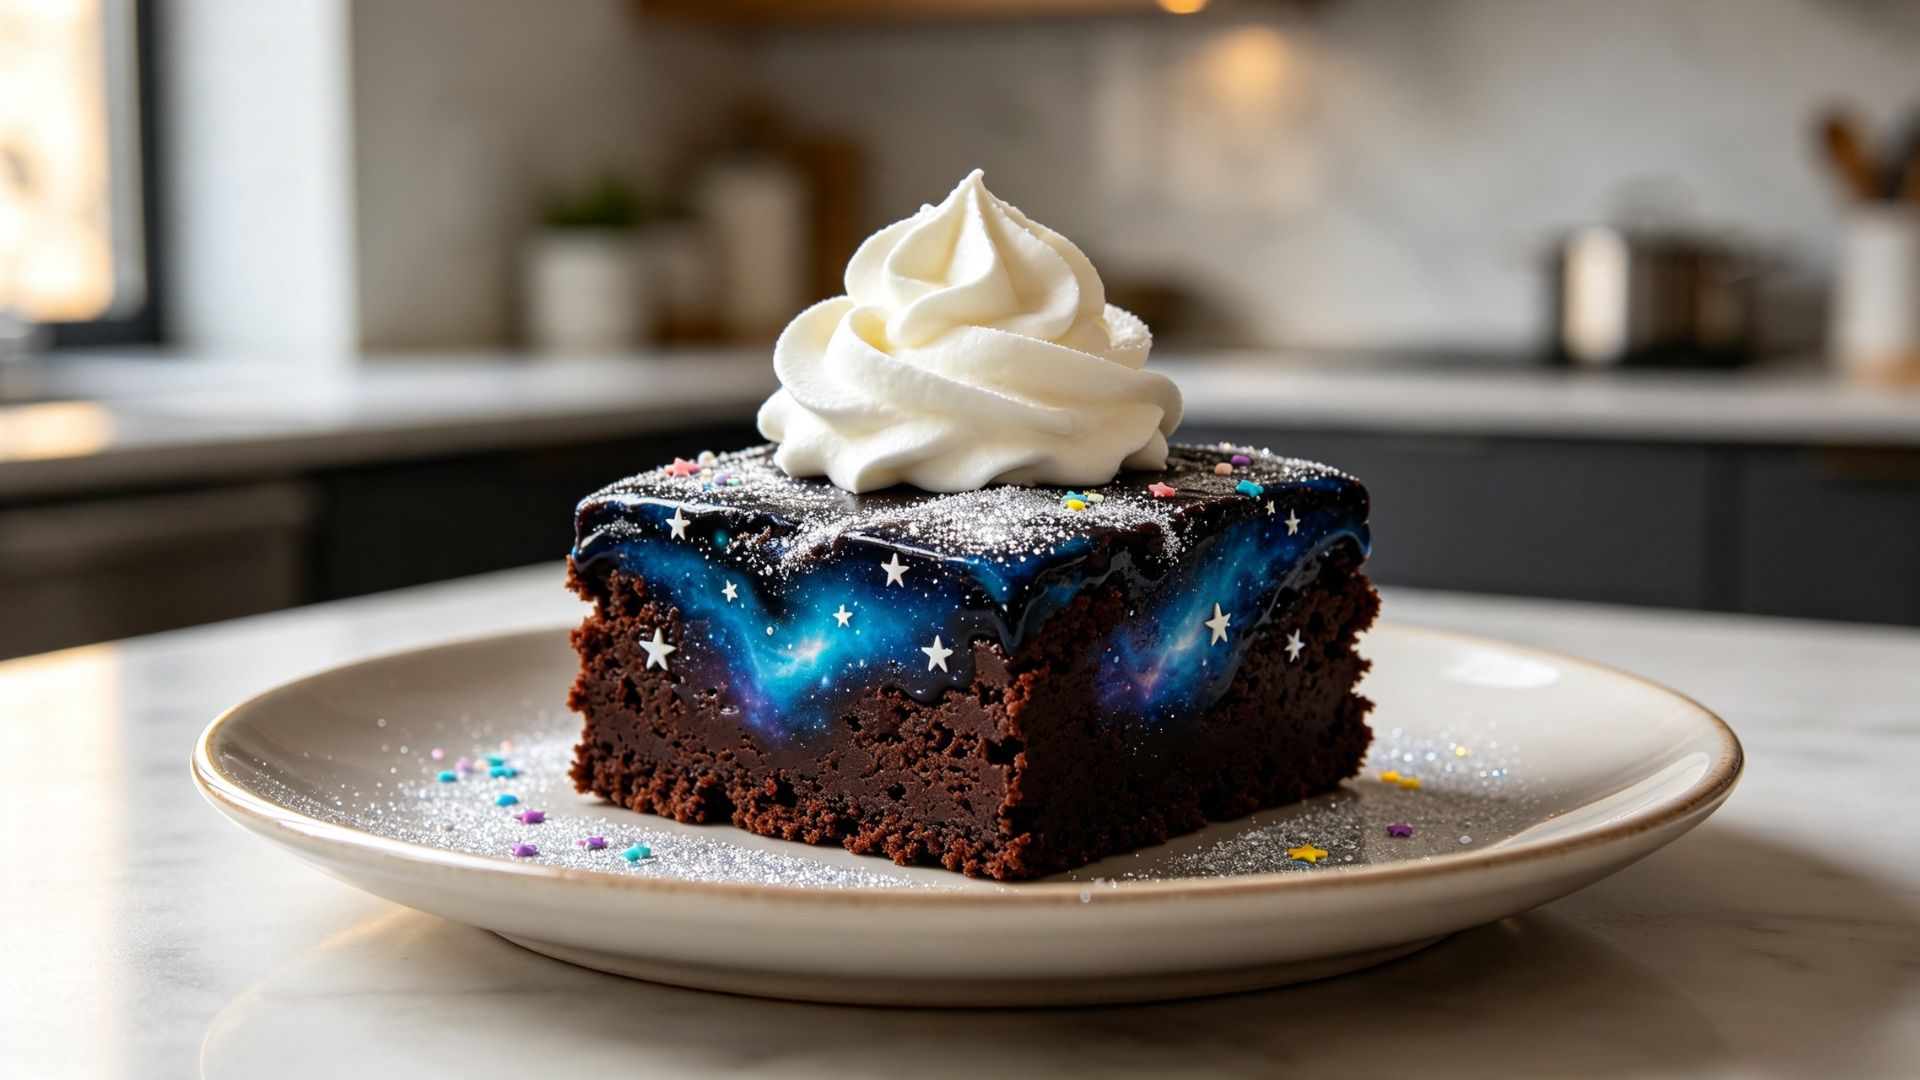
Don't overbake the brownies.
The biggest mistake with brownies is leaving them in the oven too long. You want the center to remain soft and fudgy.
Keep the cream cold.
Cold heavy cream produces a better texture when using a whipped cream dispenser.
Don't hide the galaxy design.
The whipped cream should complement the brownie rather than completely cover it. Small piped clouds look much more attractive.
Make the whipped cream fresh.
Using an 8g cream charger makes it easy to prepare light, fresh whipped cream right before serving, which is especially useful when making desserts for guests.
These Galactic Brownie Cake are essentially a combination of three textures: a dense, fudgy chocolate brownie, a crisp chocolate galaxy topping, and light whipped cream.
The contrast is what makes the dessert work.
The brownie is rich and intense, while the whipped cream adds a cool, airy element that keeps each bite from feeling too heavy. And visually, the dark chocolate surface with silver shimmer and white whipped cream makes a simple brownie look much more special.
It's the kind of dessert I'd make when I want something that feels creative without turning the kitchen into a pastry laboratory.
One simple brownie, a little imagination, and an 8g cream charger can turn an everyday chocolate dessert into something that looks straight out of the night sky.


